Regular physical activity is one of the most effective ways to maintain your independence, prevent falls, and lower your healthcare costs during retirement. Yoga offers low-impact strength training and flexibility improvements perfectly suited for aging bodies. While starting a new exercise routine might feel intimidating, certain poses are specifically designed to safely improve your balance and joint health without requiring you to twist into complicated knots. By incorporating gentle stretching into your daily routine, you can manage chronic pain and potentially reduce your reliance on expensive medical interventions. Let’s look at nine accessible yoga postures tailored for adults over 65, explaining exactly how to perform them safely and why they matter for your overall well-being.

The Financial Return on Senior Fitness
It might seem unusual to connect a yoga practice directly to your retirement portfolio, but physical health is one of the largest determinants of financial stability in your later years. According to the Centers for Disease Control and Prevention (CDC), the medical costs associated with nonfatal falls by older adults amount to $80 billion annually across the U.S. healthcare system. Even with Medicare covering roughly $57 billion of that total, an individual senior can face thousands of dollars in out-of-pocket expenses for emergency room visits, physical rehabilitation, and home modifications following a severe fall.
Committing to a gentle, daily yoga practice builds the core strength and proprioception (your body’s ability to sense its location and movements) necessary to prevent these costly accidents. You do not need to invest in expensive boutique studio memberships to reap these rewards. The primary goal is longevity and preserving your hard-earned savings from preventable medical drain.
“You only get one mind and one body. And it’s got to last a lifetime. But if you don’t take care of that mind and that body, they’ll be a wreck 40 years later. It’s what you do right now, today, that determines how your mind and body will operate ten, twenty, and thirty years from now.” — Warren Buffett, Investor and CEO of Berkshire Hathaway
9 Accessible Yoga Poses for Seniors
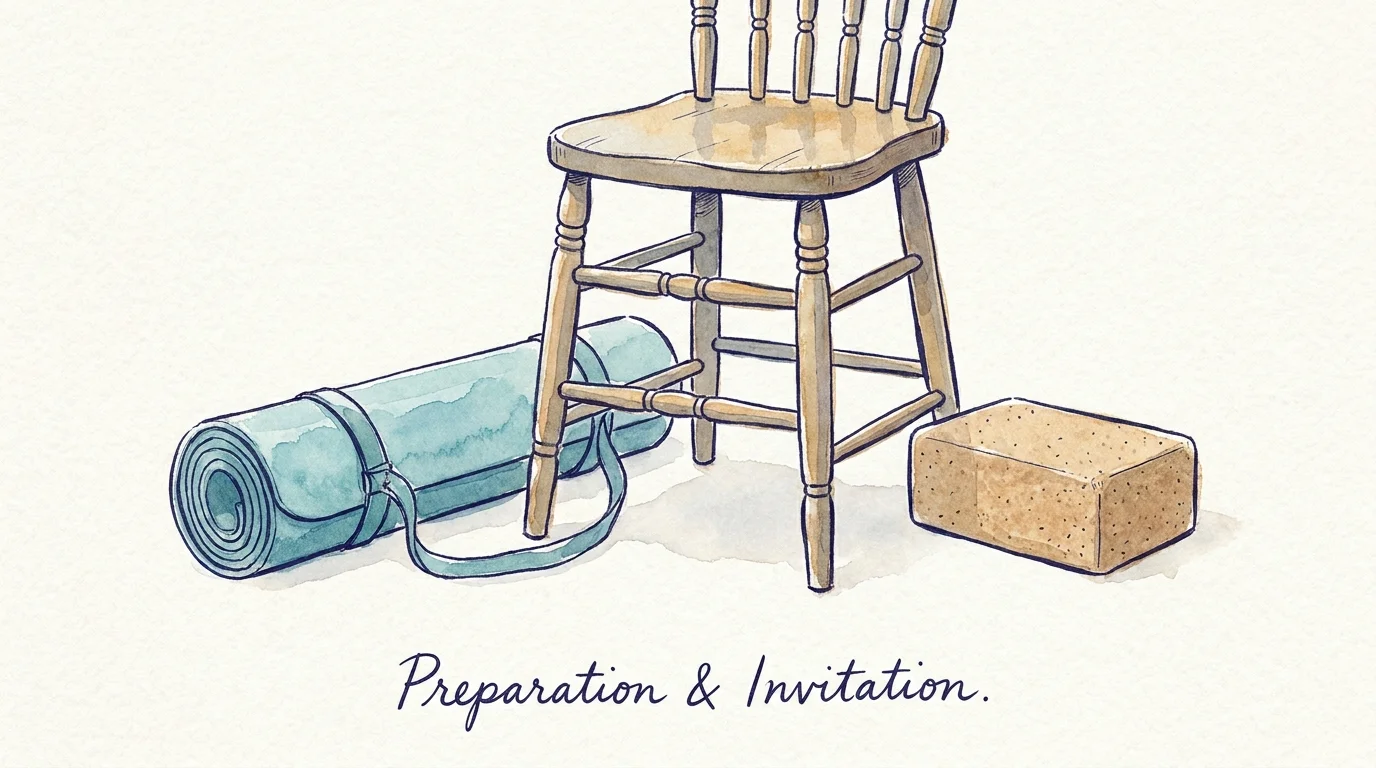
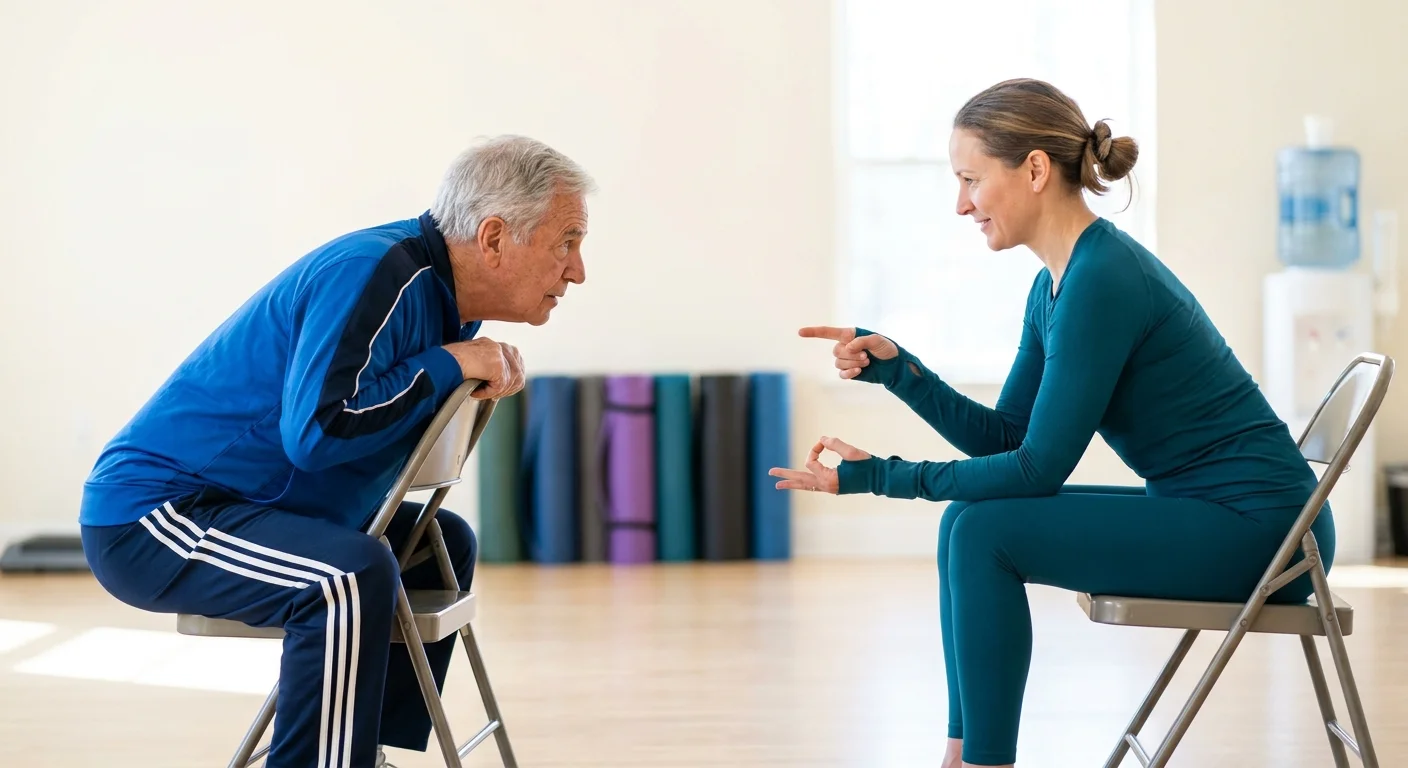
The following sequence is designed specifically for older adults. You can perform these poses in the comfort of your living room using just a sturdy chair, a wall, and a non-slip mat. Always move slowly and focus on deep, steady breathing.
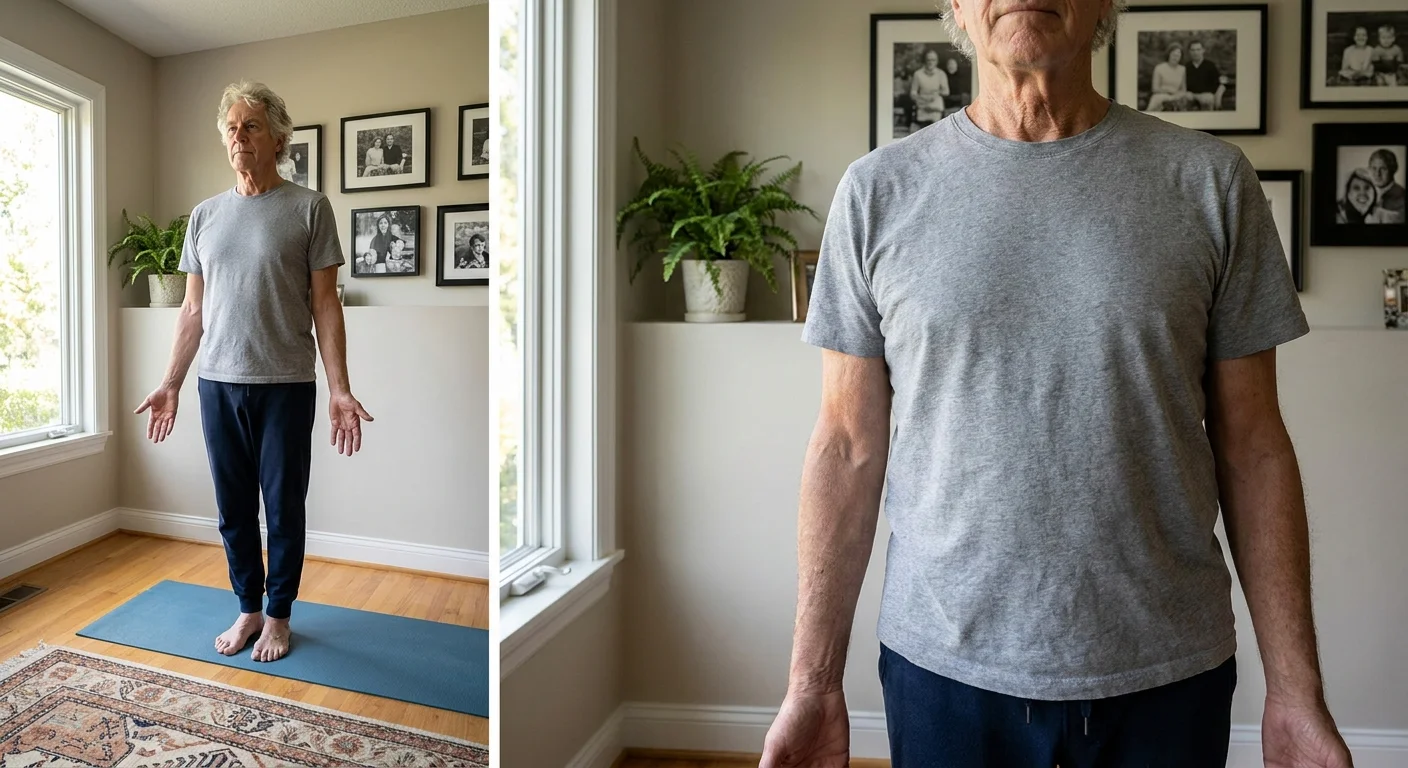
1. Mountain Pose (Tadasana)
This foundational standing pose sounds simple, but it is incredibly effective for correcting the hunched posture that often develops as we age. Good posture aligns your spine, opens your chest for better lung capacity, and distributes your weight evenly to prevent joint strain.
- Stand with your feet hip-width apart.
- Press your weight evenly across both feet.
- Engage your thigh muscles and gently tuck your tailbone.
- Roll your shoulders back and down, letting your arms hang naturally by your sides with palms facing forward.
- Take five deep breaths, feeling your spine lengthen toward the ceiling.
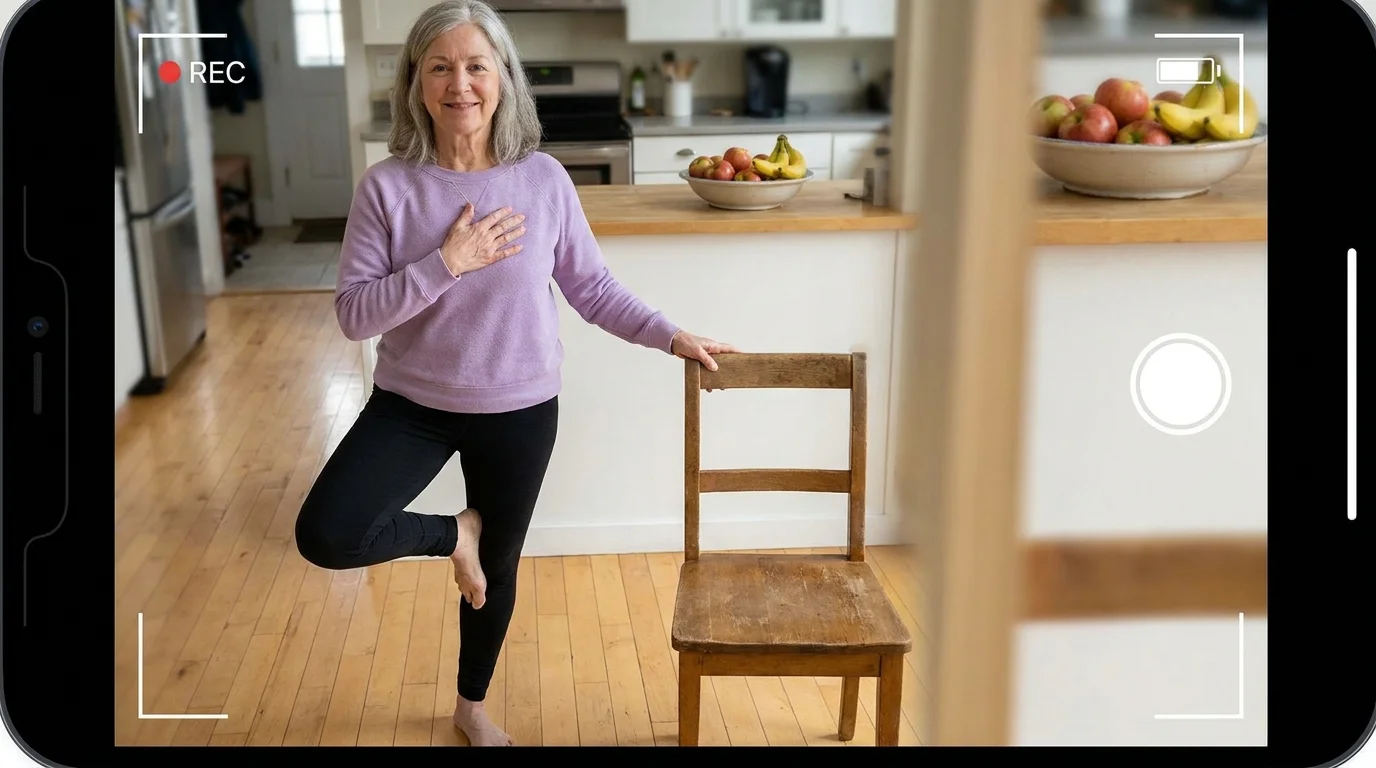
2. Chair-Supported Tree Pose (Vrksasana)
Balance is a use-it-or-lose-it skill. Tree pose strengthens your ankles, calves, and thighs while forcing your brain to recalibrate your center of gravity. Using a chair removes the fear of falling while still providing the physical benefits.
- Stand next to a sturdy, armless chair, holding the backrest lightly with your left hand.
- Shift your weight onto your left leg.
- Turn your right knee outward and place the sole of your right foot against your left inner ankle or calf (never directly on the knee joint).
- If you feel stable, bring your right hand to your heart center.
- Hold for three to five breaths, then switch sides.
3. Seated Cat-Cow Stretch (Marjaryasana-Bitilasana)
Spinal mobility is crucial for everyday tasks like checking your blind spot while driving or reaching for items on a high shelf. Performing this classic floor pose from a chair makes it entirely accessible for seniors with knee or wrist arthritis.
- Sit near the edge of your chair with your feet flat on the floor and hands resting on your knees.
- Cow Pose: Inhale deeply, arch your back, pull your shoulders back, and look slightly upward to stretch your chest.
- Cat Pose: Exhale fully, round your spine backward, tuck your chin to your chest, and let your shoulders roll forward.
- Alternate smoothly between these two positions for five to seven breath cycles.
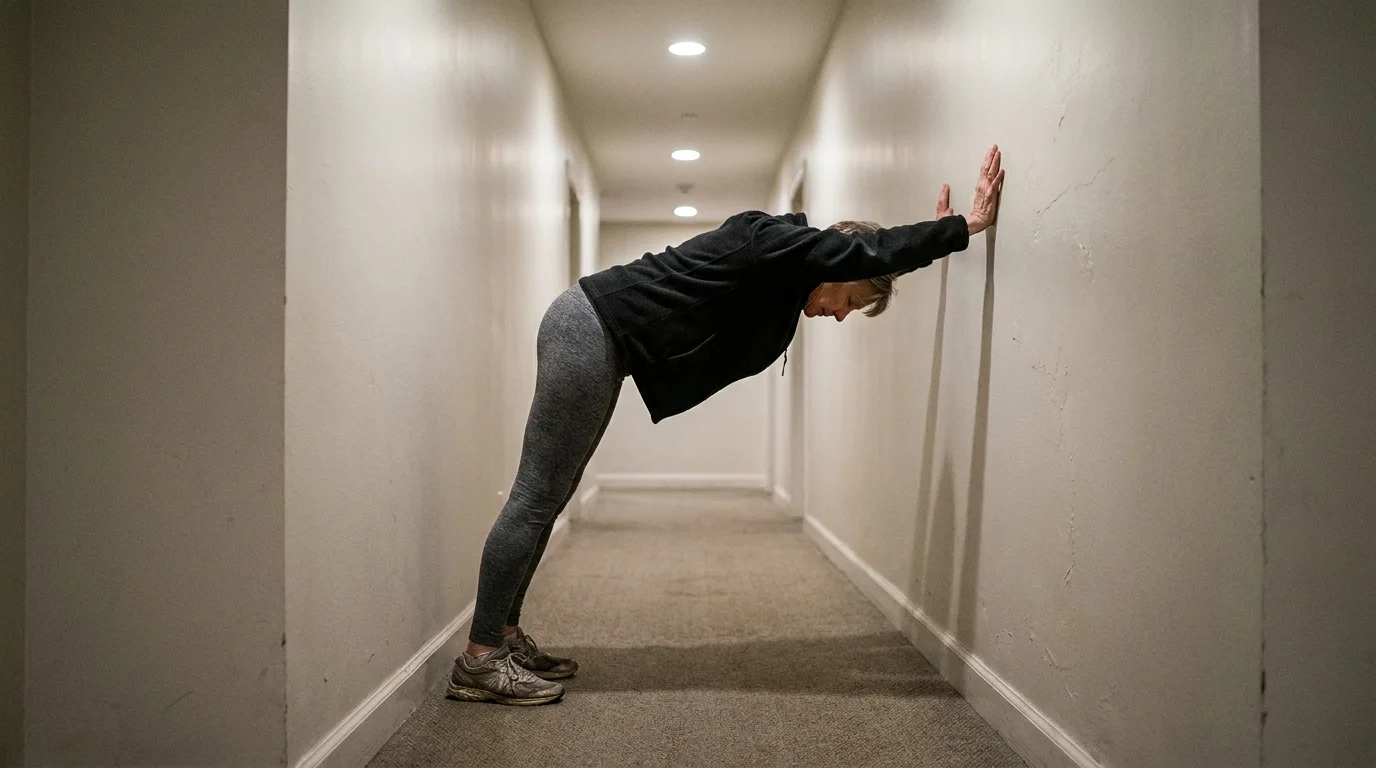
4. Wall Downward-Facing Dog (Adho Mukha Svanasana)
The traditional Downward Dog is excellent for stretching the hamstrings and lower back, but it places significant pressure on the wrists and shoulders. The wall-supported modification delivers the exact same stretch without the joint strain or dizziness associated with putting your head below your heart.
- Stand facing a bare wall, about an arm’s length away.
- Place your palms flat against the wall at shoulder height.
- Slowly walk your feet backward while sliding your hands down the wall until your body forms a right angle (an “L” shape).
- Keep your knees slightly bent and press your hips away from the wall.
- Keep your head aligned with your arms and take five deep breaths before slowly walking your feet back in.
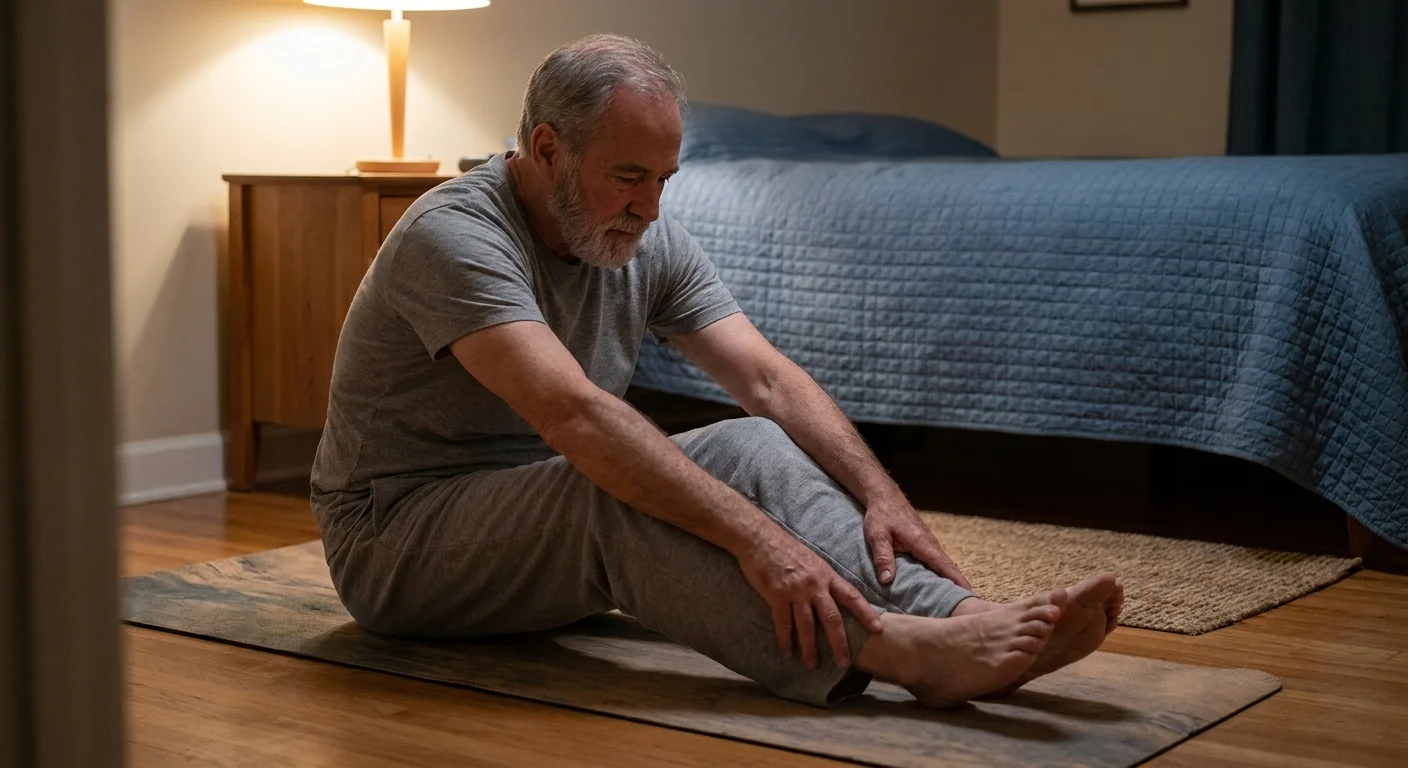
5. Seated Forward Bend (Paschimottanasana)
Tight hamstrings pull on your pelvis, which is a leading cause of lower back pain in older adults. This seated variation safely stretches the back of your legs and your lower spine.
- Sit near the front edge of your chair.
- Extend both legs straight out in front of you, resting your heels on the floor with your toes pointing toward the ceiling.
- Inhale and sit up as tall as possible.
- Exhale and hinge forward from your hips (not your waist), keeping your spine straight.
- Rest your hands on your thighs or shins—wherever they naturally reach without forcing them. Hold for five breaths.
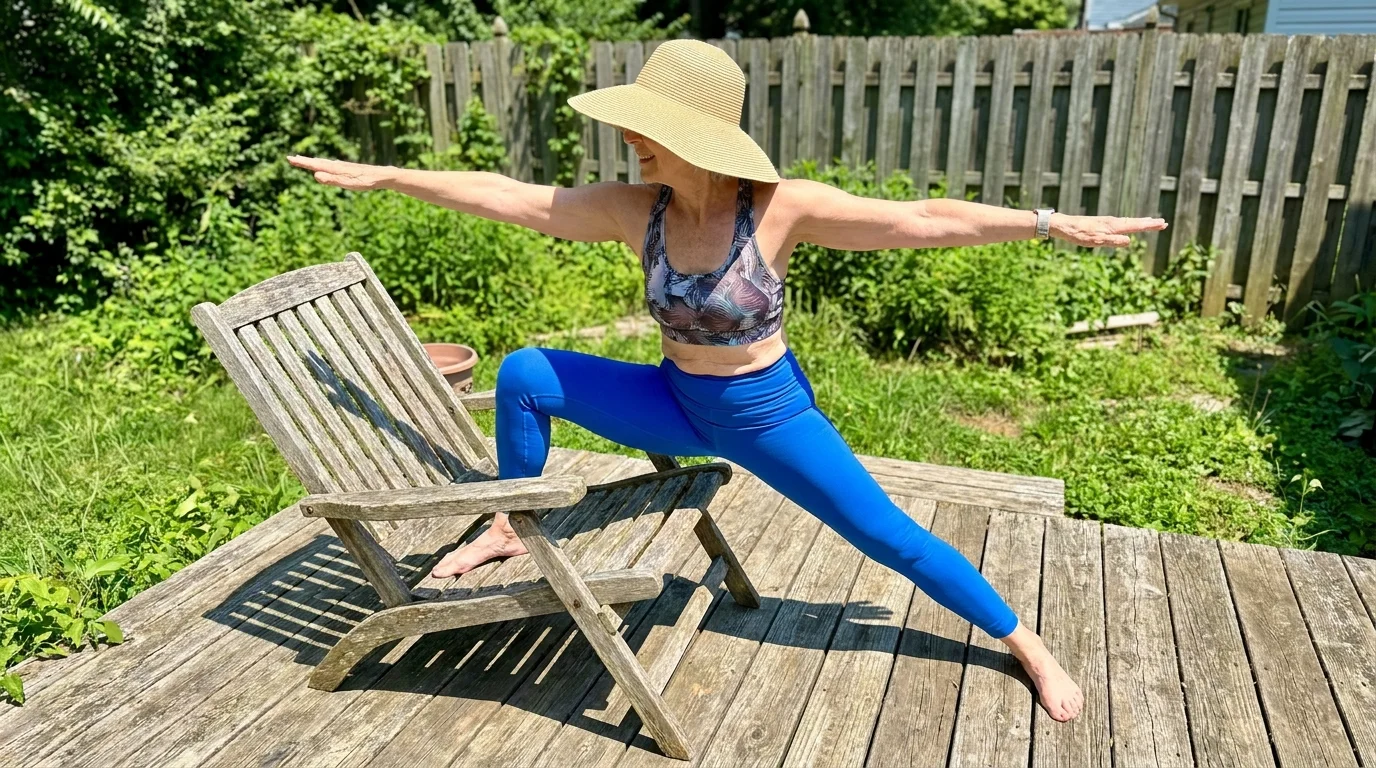
6. Warrior II With Chair Support (Virabhadrasana II)
Warrior II builds stamina and strengthens the quadriceps, which are the muscles you rely on to get up from a low couch or the toilet. Using a chair for balance allows you to focus on the muscle engagement rather than the fear of toppling over.
- Stand behind your chair, holding the backrest for support.
- Step your right foot back about three feet. Turn your right foot outward at a 90-degree angle.
- Keep your left foot pointing straight ahead toward the chair.
- Bend your left knee so it stacks directly over your left ankle. Keep your right leg perfectly straight.
- If you feel completely stable, release your right hand and extend it backward, parallel to the floor.
- Hold for three to five breaths, then switch legs.

7. Cobbler’s Pose (Baddha Konasana)
Hip flexibility naturally decreases as we age, leading to a shuffling gait. Cobbler’s pose gently opens the hips, groin, and inner thighs to maintain your stride length.
- Sit up straight in your chair.
- Bring the soles of your feet together and let your knees gently drop outward to the sides.
- If this strains your hips, you can place yoga blocks or thick books under your feet to elevate them slightly.
- Rest your hands on your thighs and breathe deeply for five breaths. Avoid actively pushing your knees down; let gravity do the work.
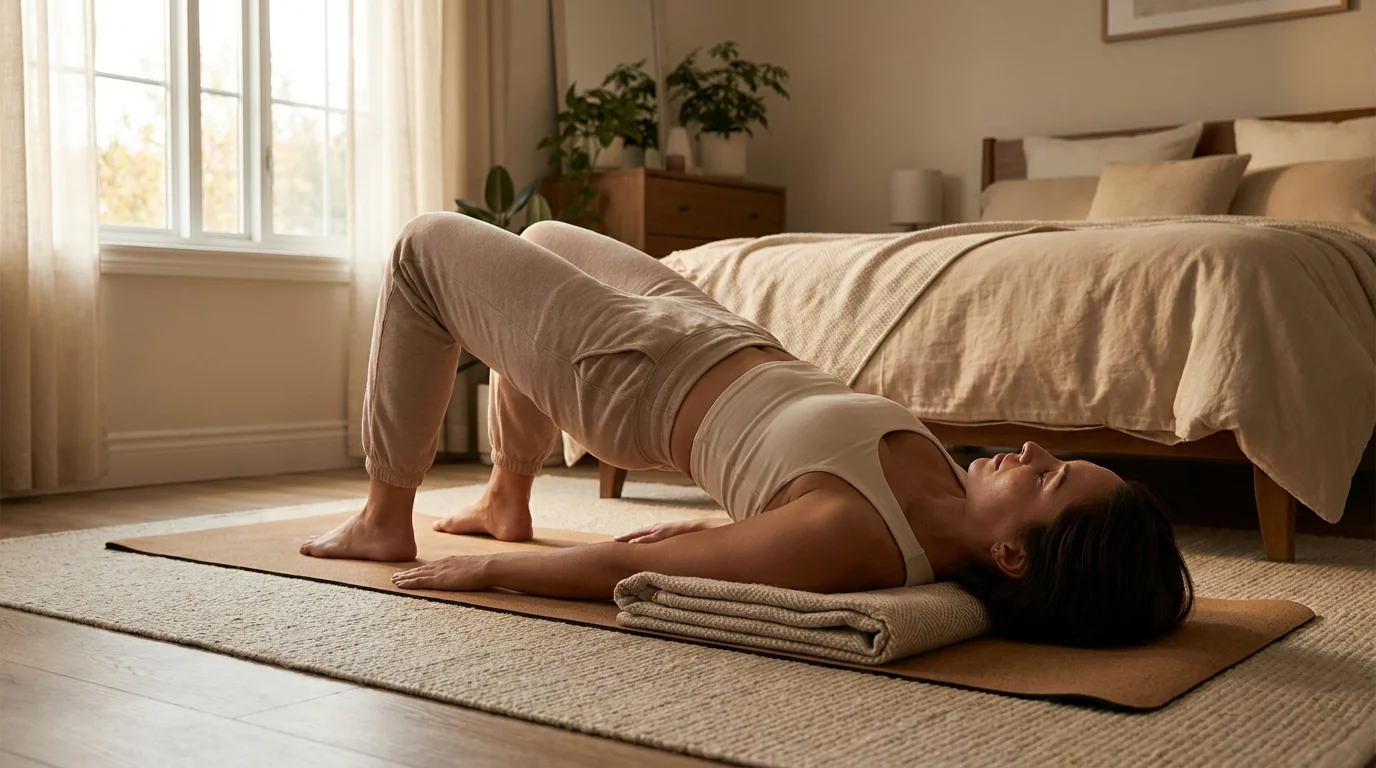
8. Supported Bridge Pose (Setu Bandhasana)
This pose counters the effects of sitting by opening the front of the body and strengthening the glutes and lower back. It is performed on the floor, so only attempt it if you are comfortable getting down and up from a yoga mat.
- Lie on your back with your knees bent and feet flat on the floor, hip-width apart.
- Walk your heels back until they are close to your fingertips.
- Press firmly into your feet and inhale as you lift your hips toward the ceiling.
- Slide a yoga block or a firm, folded blanket under your lower back (sacrum) for support, and rest your weight on it.
- Hold the pose for five to ten breaths, then remove the block and slowly lower your spine back to the floor.
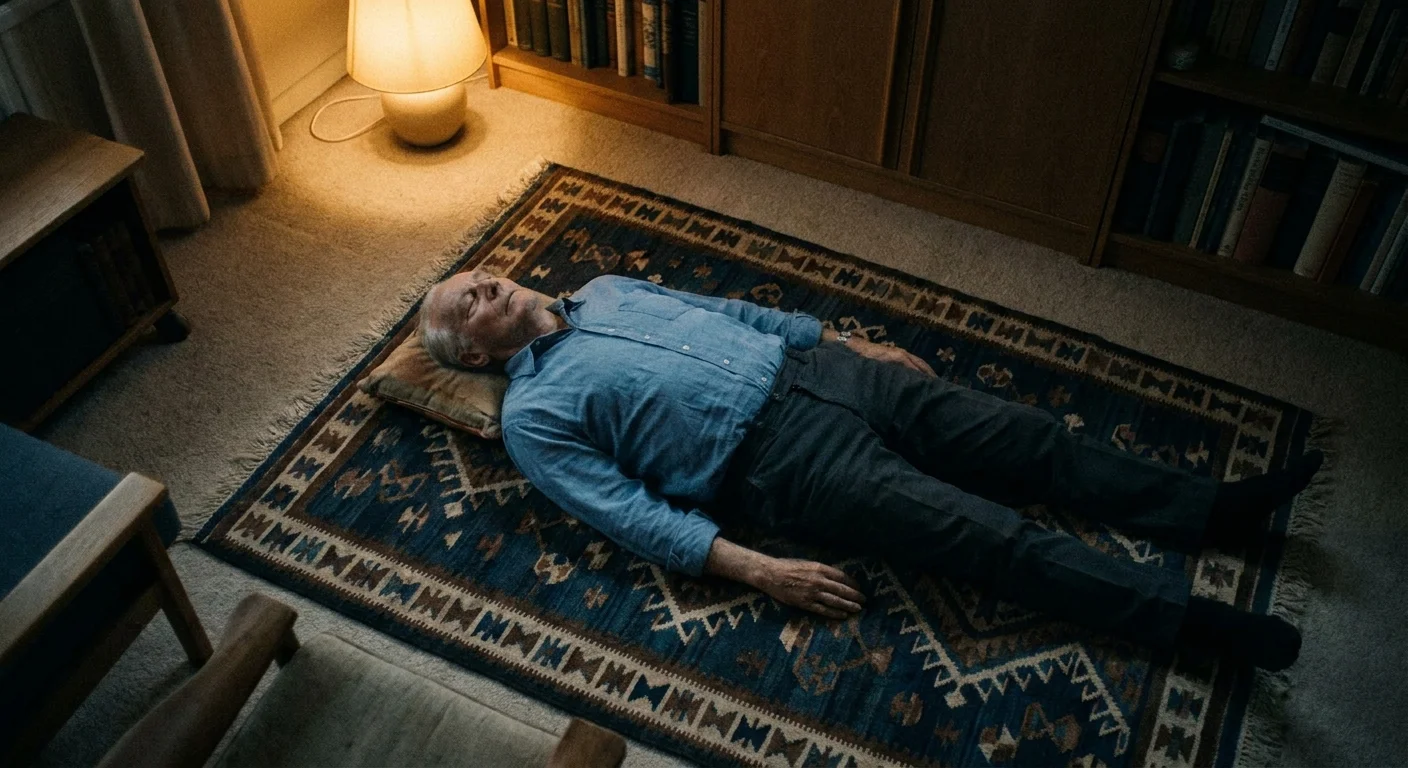
9. Corpse Pose (Savasana)
Never skip the final resting pose. Savasana lowers your blood pressure, calms your nervous system, and allows your muscles to integrate the physical work you just completed. It is a vital tool for stress management.
- Lie flat on your back on a mat, or sit comfortably reclined in a supportive chair.
- Close your eyes and let your arms rest by your sides with palms facing up.
- Allow your feet to naturally fall open.
- Consciously release tension from your jaw, your shoulders, and your stomach.
- Rest in this position, breathing naturally, for at least five minutes.
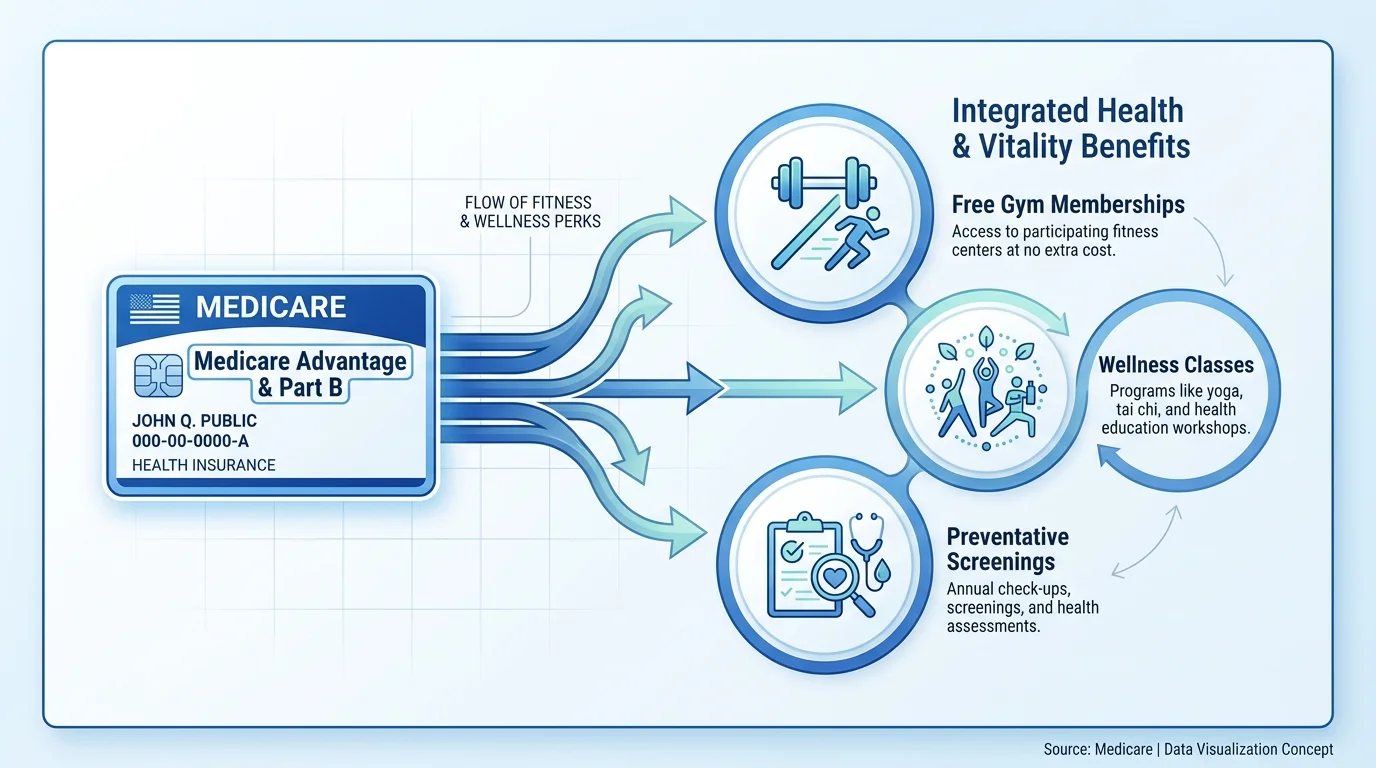
Maximizing Your Medicare Fitness Benefits
Before you pay for private yoga classes out of pocket, check your Medicare Advantage (Part C) or Medigap policy. Original Medicare (Parts A and B) does not cover standard gym memberships or fitness classes, but many private Medicare plans include robust fitness benefits at a $0 premium. The two largest programs are SilverSneakers and Renew Active.
| Feature | SilverSneakers | Renew Active |
|---|---|---|
| Availability | Included with many Medicare Advantage and Medigap plans. | Exclusive to UnitedHealthcare Medicare Advantage members. |
| Facility Access | Access to over 15,000 participating gyms and community centers nationwide. | Access to a massive network of gyms, boutique studios, and local fitness centers. |
| Class Offerings | Specialized senior-focused classes, including yoga, tai chi, and water aerobics. | Standard gym classes, plus thousands of on-demand workout videos. |
| Extra Benefits | FLEX community classes held in parks and recreation centers; live virtual classes. | Partnership with AARP Staying Sharp® for cognitive wellness and brain health exercises. |
You can verify your eligibility by calling the customer service number on the back of your Medicare insurance card or by visiting the official Medicare.gov website.
Financial Note: If you pay for specialized, doctor-prescribed physical therapy that incorporates yoga, you might be able to deduct these costs as medical expenses if you itemize your taxes. However, keep in mind that the IRS significantly increased standard deductions for 2026. A single filer over 65 has a standard deduction of $18,150 ($16,100 base plus a $2,050 senior bump). Additionally, the recent tax legislation created an enhanced $6,000 deduction for eligible taxpayers over 65. Because these standard deductions are so high, most seniors will not need to itemize medical expenses. Always consult your CPA for your specific tax filing.
Pitfalls to Watch For
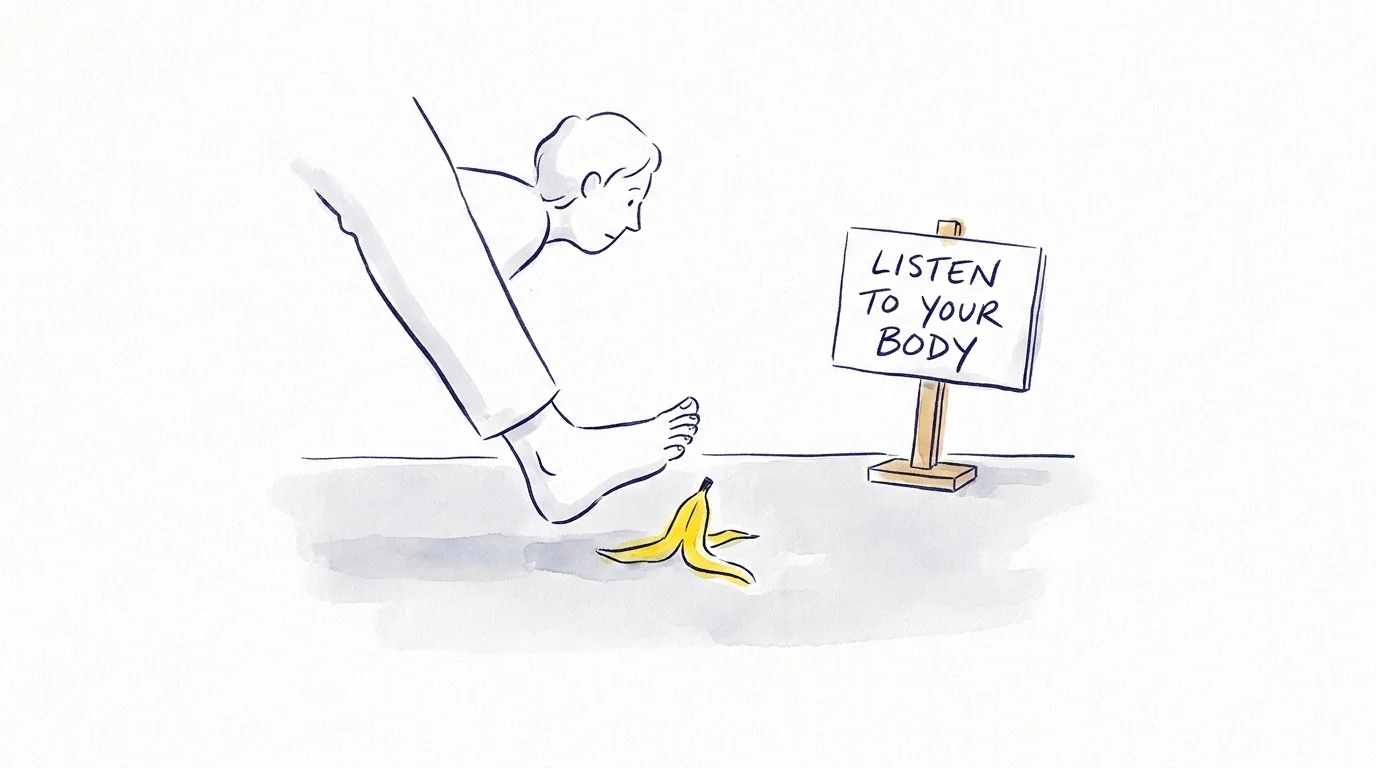
While yoga is remarkably safe, improper form can lead to the very injuries you are trying to prevent. Avoid these common mistakes:
- Pushing into sharp pain: A deep stretch feels like tension or mild pulling. Sharp, sudden, or shooting pain is a warning sign. If a pose hurts your joints, stop immediately. Your goal is mobility, not gymnastics.
- Holding your breath: Many beginners unknowingly hold their breath while concentrating on balance. This spikes your blood pressure and deprives your muscles of oxygen. If you cannot breathe smoothly in a pose, you are pushing too hard. Ease up until your breath returns to a natural rhythm.
- Refusing to use props: Some seniors view using a chair, wall, or yoga block as a sign of weakness. In reality, props are essential tools that allow you to isolate the correct muscles safely. Rely on them to build confidence.
- Skipping the warm-up: Aging muscles take longer to become pliable. Jumping straight into deep hamstring stretches without a five-minute warm-up (like gentle marching in place or shoulder rolls) increases your risk of pulling a muscle.
Getting Expert Help
Sometimes, teaching yourself from an article or a video isn’t enough. Consider seeking professional guidance in the following scenarios:
- You have a history of falls or severe osteoporosis: Before starting any exercise routine, consult a licensed physical therapist. They can evaluate your specific bone density limitations and modify movements to protect your spine and hips.
- You want to leverage your insurance benefits: If you are unsure whether your current Medicare plan covers fitness programs, consult a licensed Medicare broker during the Annual Enrollment Period (Oct 15 – Dec 7). They can help you switch to a plan that includes SilverSneakers or Renew Active at no additional cost.
- You prefer in-person instruction: Look for a yoga teacher who holds a specific certification in “Senior Yoga” or “Yoga Therapy.” The National Council on Aging (NCOA) often partners with local senior centers to provide evidence-based, instructor-led fitness programs designed specifically for adults over 65.
Frequently Asked Questions
Does Medicare Part B cover yoga classes?
Original Medicare Part B does not cover standard yoga classes or gym memberships. However, if a doctor prescribes physical therapy to treat a specific medical condition, and the licensed physical therapist incorporates yoga-based stretching into your clinical treatment plan, Part B will cover those specific physical therapy sessions.
Is it too late to start yoga if I am in my 70s or 80s?
It is never too late to begin. Your muscles and joints remain responsive to gentle conditioning at any age. Starting with a chair-based practice allows you to safely build strength, even if you have been sedentary for years.
How often should seniors practice these yoga poses?
Consistency yields the best results. Aim for 15 to 20 minutes of gentle stretching three to five times a week. Brief, frequent sessions are far more effective for joint lubrication and pain management than a single, exhausting hour-long class once a week.
Your health is your greatest financial asset during retirement. By committing just a few minutes a day to these accessible yoga poses, you actively protect your mobility, lower your risk of expensive medical emergencies, and improve your overall quality of life. Start slowly, utilize the fitness benefits hidden in your health insurance, and enjoy the physical and mental rewards of a consistent stretching routine.
This article provides general financial education and information only. Everyone’s financial situation is unique—what works for others may not work for you. For personalized advice tailored to your retirement needs, consider consulting a qualified financial professional such as a CFP or CPA.
Last updated: May 2026. Benefit amounts, tax rules, and program details change annually—verify current figures with official government sources.